
Creating a workspace
Start on brigg.no (or brigg.se, brigg.dk, brigg.com) with Try now. Give your work email address — a private webmail address is not accepted — and tell Brigg which company you work for. In Norway and Sweden, Brigg looks the company up in the national company register. The workspace is then set up with your company's name, logo and profile from its website. Confirm, enter the code you get by email, and you are in.
If someone at your company already uses Brigg, you are offered to ask for access to their workspace instead of creating a second one.
The welcome steps
The first time you open Brigg, a short welcome guides you through the essentials.
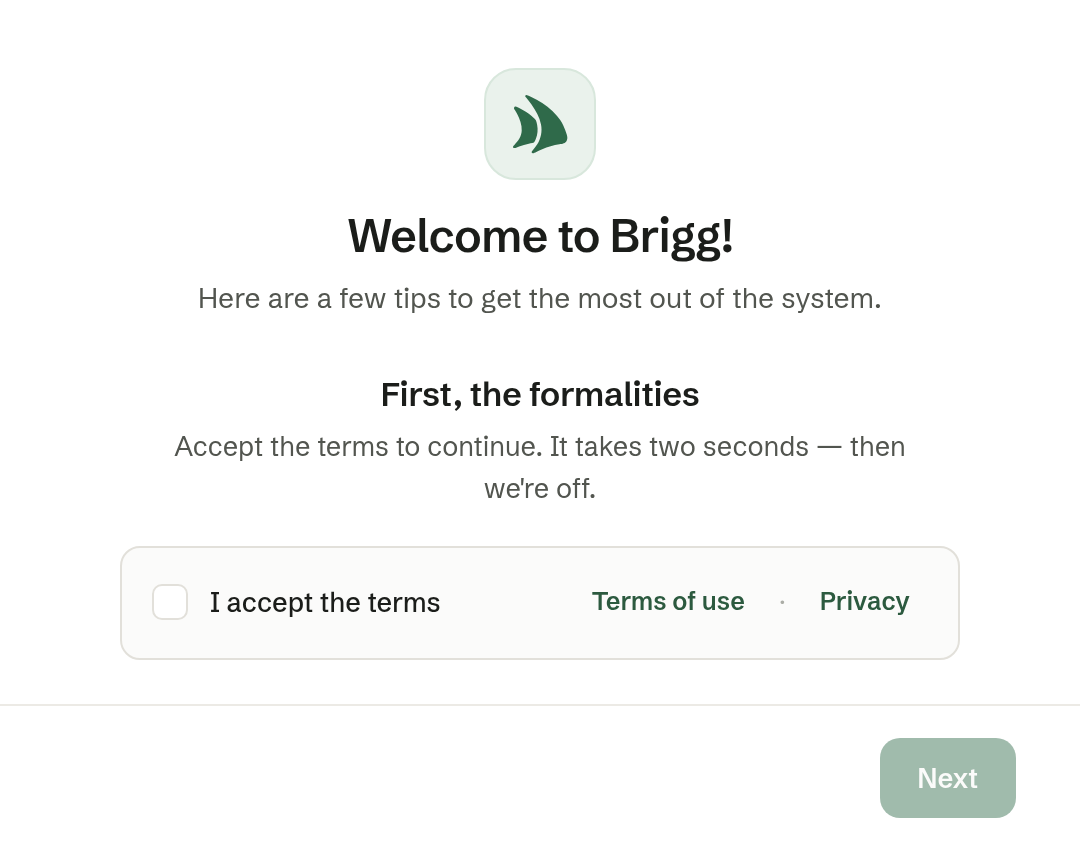
- First, the formal part — tick I accept the terms to continue. The links open the terms of use and the privacy policy.
- Systems Admin (once per company) — tick the systems you want Brigg to replace, such as a CRM, meeting notes, quotes and signing, newsletters, a website, web chat, customer service, a switchboard or meeting booking. Write anything else under Other, or press Skip. Brigg uses the answer to suggest where to begin.
- Calendar — connect your Google or Microsoft calendar, so Brigg knows your meetings. You can do this later under Personal settings › Connected accounts.
- Desktop app — download the desktop app, which takes notes in your meetings. Skipped on a phone and inside the desktop app itself.
- Just ask! — pick a suggestion to send to the agent, or press Get started and write your own.
Use Back and Next to move between the steps.
Your first requests
The quickest way to learn Brigg is to ask the agent. A few good first requests:
- «Help me get started»
- «Import my customers from this spreadsheet» (attach the file)
- «Set up our customer service inbox»
- «What can you help me with?»
Next steps
- Invite your colleagues under Company settings › Users.
- Choose what the agent may do in your name under Permissions.
- Get to know the menu in Finding your way around.