
Adding the chat to your website
- Open the inbox's settings and find Web chat under Channels.
- Press Open test page to try the chat as a visitor would, on a page made for testing.
- Press Copy code and paste the code into your website, just before the closing body tag — or send it to whoever runs your website. If your site is built on a platform, look for where it lets you add your own code or script to every page.
The chat then appears as a round button in the bottom-right corner of every page.
The gear on the Web chat row opens the channel's own page. There you write the welcome message — the first message a visitor sees before they have written anything. Leave it empty to use the default text.
What your visitors see
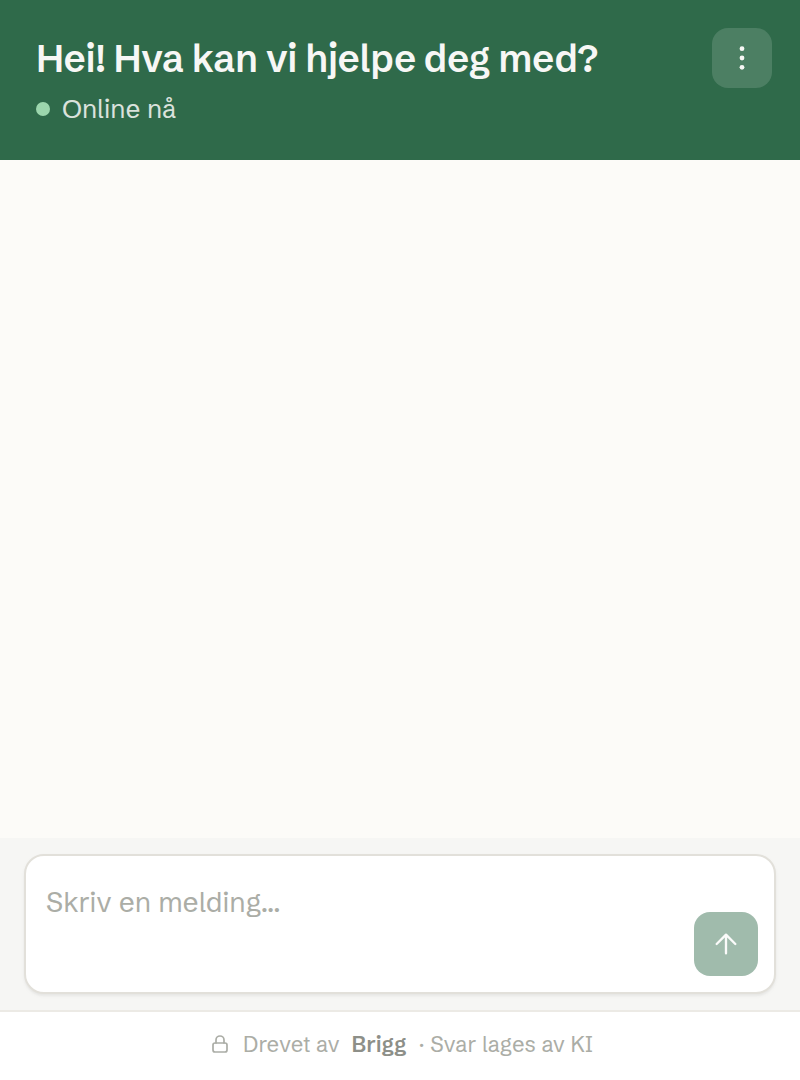
- A greeting, Hi! How can we help?, and an online status.
- The welcome message as the first message in the chat.
- A message box. Answers appear as they are written.
- Buttons the agent offers for quick answers, and questions with options to choose from.
- When a colleague takes over, their name and picture.
- After the first message, a paperclip to attach a file.
- At the bottom, a note that replies are made by AI.
The ⋯ menu offers New conversation, Delete data — which deletes the conversation for good — and Privacy.
The conversation is remembered if the visitor reloads the page. On a phone the chat opens full-screen and covers the whole screen; the arrow in the top-right corner closes it.
In Customer service
Each chat is a conversation on the Web chat channel. With Agent answers first on, the agent answers straight away; when it hands the case over, a colleague can reply in the same chat, and the visitor sees the answer at once.